


A step-by-step guide to growing tomatoes indoors using a drip-based hydroponic system.
Quick Answer: How to Grow Hydroponic Tomatoes
To grow hydroponic tomatoes, germinate seeds in rockwool, provide 16–18 hours of light, maintain pH 5.8–6.3, use a well-aerated medium such as perlite, drip-feed plants with a nutrient solution, keep temperatures around 18–24°C, hand-pollinate blossoms, and flush salt buildup weekly.
Key Conditions:
- Light: 16–18 hrs/day
- pH: 5.8–6.3
- Temperature: 18–24°C day / 12–18°C night
- Growing Medium: Perlite
- Feeding: Continuous drip irrigation + weekly nutrient replacement
 1. What You Need to Get Started
Essential Equipment:
- Rockwool starter cubes
- Nursery tray
- Metal halide or LED grow light
- Timer for light cycles
- Individual pots (3–5L recommended)
- Perlite growing medium
- Pump + irrigation lines
- Reservoir tank for nutrient solution
- Hydroponic tomato nutrients
- pH meter + pH up/down solutions
- Fan or temperature control
- Soft plant ties and stakes
- Small paintbrush (for pollination)
2. Step-by-Step Guide to Growing Hydroponic Tomatoes
Step 1 – Choose a Growing Area
Hydroponic tomatoes don’t require natural light, so you can grow them in a spare room, basement, garage, or greenhouse.
Choose an area with:
- Access to power
- Good ventilation
- Enough space for lights and drip lines
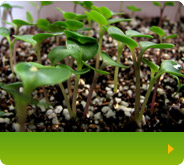
Step 2 – Start Tomatoes from Seed
- Soak rockwool cubes and adjust the pH of the water to 4.5 before adding seeds.
- Place 1–2 tomato seeds in each cube.
- Keep cubes moist but not waterlogged.
Starting from seed avoids shock from transplanting soil-grown plants.
Step 3 – Place Seedlings Under Light
Once seeds sprout:
- Move seedlings under a metal halide or full-spectrum LED light.
- Provide 12 hours of light per day at the seedling stage.
- Prevent light from reaching the roots, as it can damage them.
Step 4 – Transplant Seedlings to Pots
When roots protrude from the bottom of the rockwool:
- Transfer the entire cube into an individual pot.
- Fill the pot with 100% perlite, such as Exfoliators Premium Perlite, to ensure aeration, drainage, and root oxygenation.
Step 5 – Set Up a Drip Feeding System
The simplest beginner hydroponic setup is a top-down drip system:
- Place a reservoir below the plants and fill it with water + hydroponic tomato nutrients.
- Connect a pump to drip lines that deliver solution to each pot.
- Allow the solution to drain back into the reservoir.
Feeding schedule:
- Run the drip system continuously during the day.
- Replace the entire nutrient solution once per week.
Step 6 – Provide 16–18 Hours of Daily Light
Tomatoes require long photoperiods to develop strong stems and blossoms.
- Use automatic timers
- Ensure plants receive 6–8 hours of complete darkness for proper respiration
Step 7 – Maintain the Correct pH
Tomatoes grow best in a slightly acidic environment:
- Target pH: 5.8–6.3
- Lower pH with phosphoric acid
- Raise pH with potassium hydroxide
Check pH daily to prevent nutrient lockout.
Step 8 – Regulate Temperature
Ideal conditions:
- Day: 18–24°C
- Night: 12–18°C
Use fans or your home’s HVAC to maintain airflow and prevent heat stress.
Step 9 – Stake and Prune Plants
- Prune lower leaves to improve airflow
- Attach stems to stakes or strings to encourage vertical growth
- Remove suckers to direct energy to fruit production
Step 10 – Hand-Pollinate Blossoms
Indoor hydroponic tomatoes require manual pollination:
- Use a soft paintbrush
- Gently transfer pollen from one flower to another
- Repeat every few days during peak flowering
Step 11 – Leach the Pots Weekly
Salt accumulates around hydroponic roots over time:
- Once per week, flush pots with clean water
- Do this when changing the nutrient solution
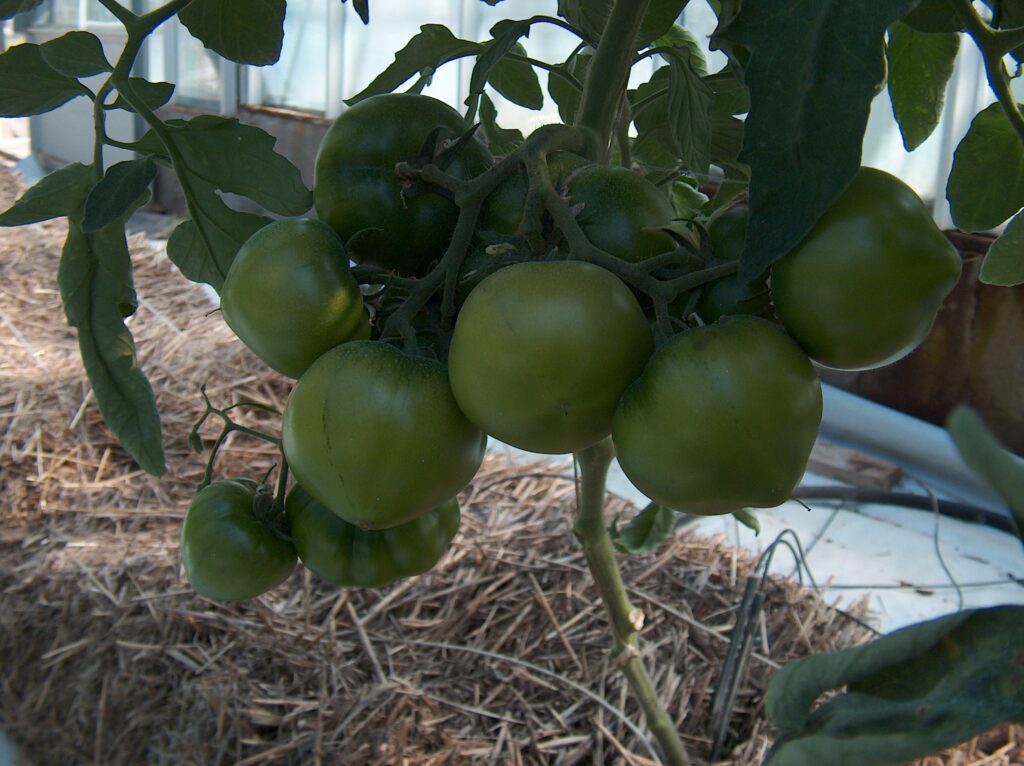
Step 12 – Monitor Growth and Harvest
Tomatoes are ready to harvest when they reach full color and firmness.
After tomatoes, consider expanding to hydroponic strawberries for year-round fruit.
3. Optimal Growing Conditions (Quick Reference Table)
| Factor | Ideal Range |
|---|---|
| Light | 16–18 hrs/day |
| pH | 5.8–6.3 |
| Temperature (day) | 18–24°C |
| Temperature (night) | 12–18°C |
| Growing Medium | Perlite |
| Feeding | Continuous drip |
| Nutrient Change | Weekly |
| Pollination | Manual |
4. Troubleshooting Guide
Yellowing Leaves
- pH out of range
- Insufficient nutrients
- Low oxygen around roots
Slow Growth
- Insufficient light
- Temperature too low
- Weak nutrient solution
Blossoms Falling Off
- Poor pollination
- High heat
- Low humidity
5. Why Perlite Is Ideal for Hydroponic Tomatoes
Perlite is one of the most popular growing media in hydroponics because it provides:
- Excellent aeration
- Consistent moisture retention
- Lightweight structure for root expansion
- Strong drainage to prevent root rot
Exfoliators Premium Perlite enhances root oxygenation and stabilises the plant structure, making it especially effective for tall, fruiting crops like tomatoes.
6. Final Tips for Higher Yields
- Use oscillating fans to strengthen stems
- Keep lights at the correct distance to prevent burn
- Train plants upward to maximise space
- Choose high-yield varieties like cherry or roma tomatoes